When I create a new website, I look for the most basic WordPress theme I can find. And I try to take away as much of the ‘features’ and ‘bells and whistles’ of the theme as possible. Because I know I can turn a completely blank canvas, into a great looking blog by focusing on just 4 main areas:
- Have a great looking logo
- Add sidebar graphics
- Have great looking blog title images
- And choose the right font for the text (main blog text, and headers/titles)
By focusing on these 4 areas you don’t need to spend a lot of money on a blog theme to get you started.
A big problem I had when starting my home design website (and understanding how to build/edit websites), was that when I bought a WordPress theme that had great looking features (sliders, fancy layouts, etc) – things would break on the site anytime I would try to make a simple change to the design. These themes work great out of the box – but wanting to try and change things can quickly mess things up.
1. A Great Looking Logo
Not only is having a great looking logo important because it represents who you are and what you do, but it is the first thing people will see on your blog. Since it is right at the top of the website, and it sets the style and feel for the rest of your blog.
If you have a watercolor logo for example, then you will want to have a few small watercolor elements in your sidebar, or even in the blog posts themselves. If you have a modern icon blog logo, then this can work its way again into the sidebar or blog posts – and to the overall design of the blog.
2. Sidebar Graphics
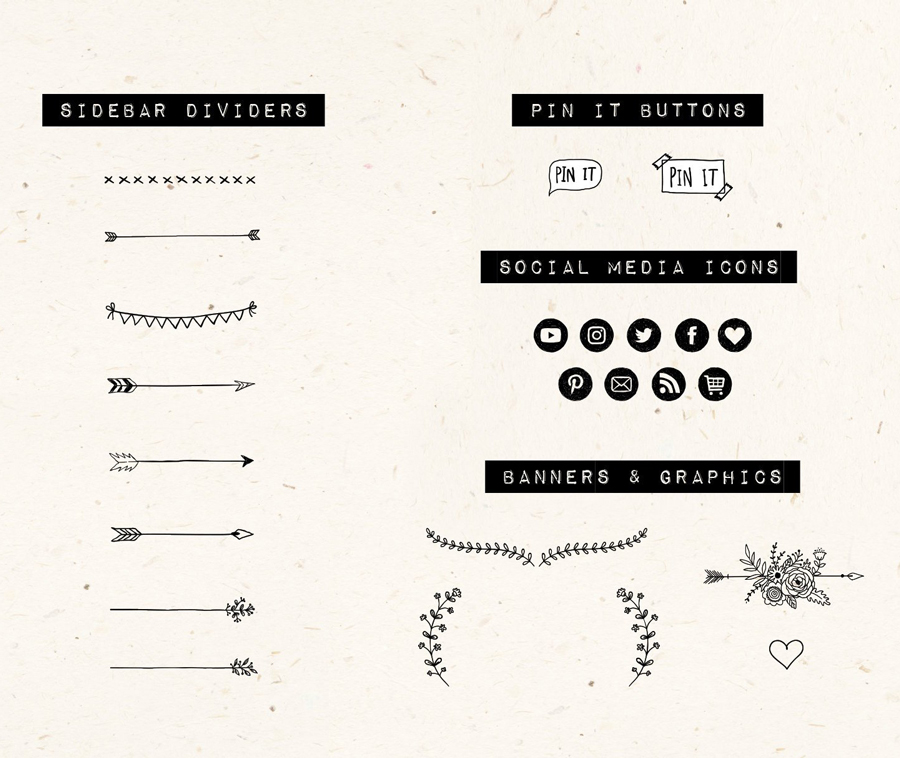
Add 1 or 2 graphic into your sidebar to make a great looking blog. These graphics should match the style of your branding/logo. A graphic can go right at the top of your sidebar, or under your first widget.
Or you could use graphics to divide the content up on your sidebar. I have a hand drawn graphics branding pack that includes a number of these sidebar dividers.

It might seem like a small thing to add just one graphic to your sidebar. But it is the small things that will add up to creating a great looking blog. You can even add a divider to your blog posts (either at the end of each post, or to divide a section) – have a look at the one I have added to the end of this section. It is the small things.
At this point, when people visit your website they will see your well designed logo and matching graphics. This alone can say a lot about who you are as a blogger and keep people interested.

3. Blog Post Title Image
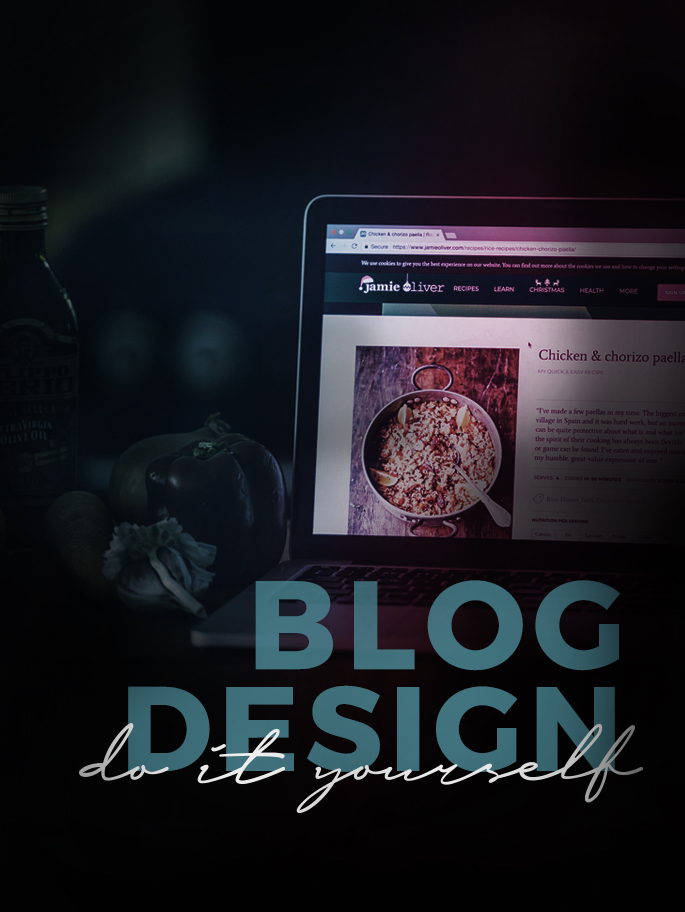
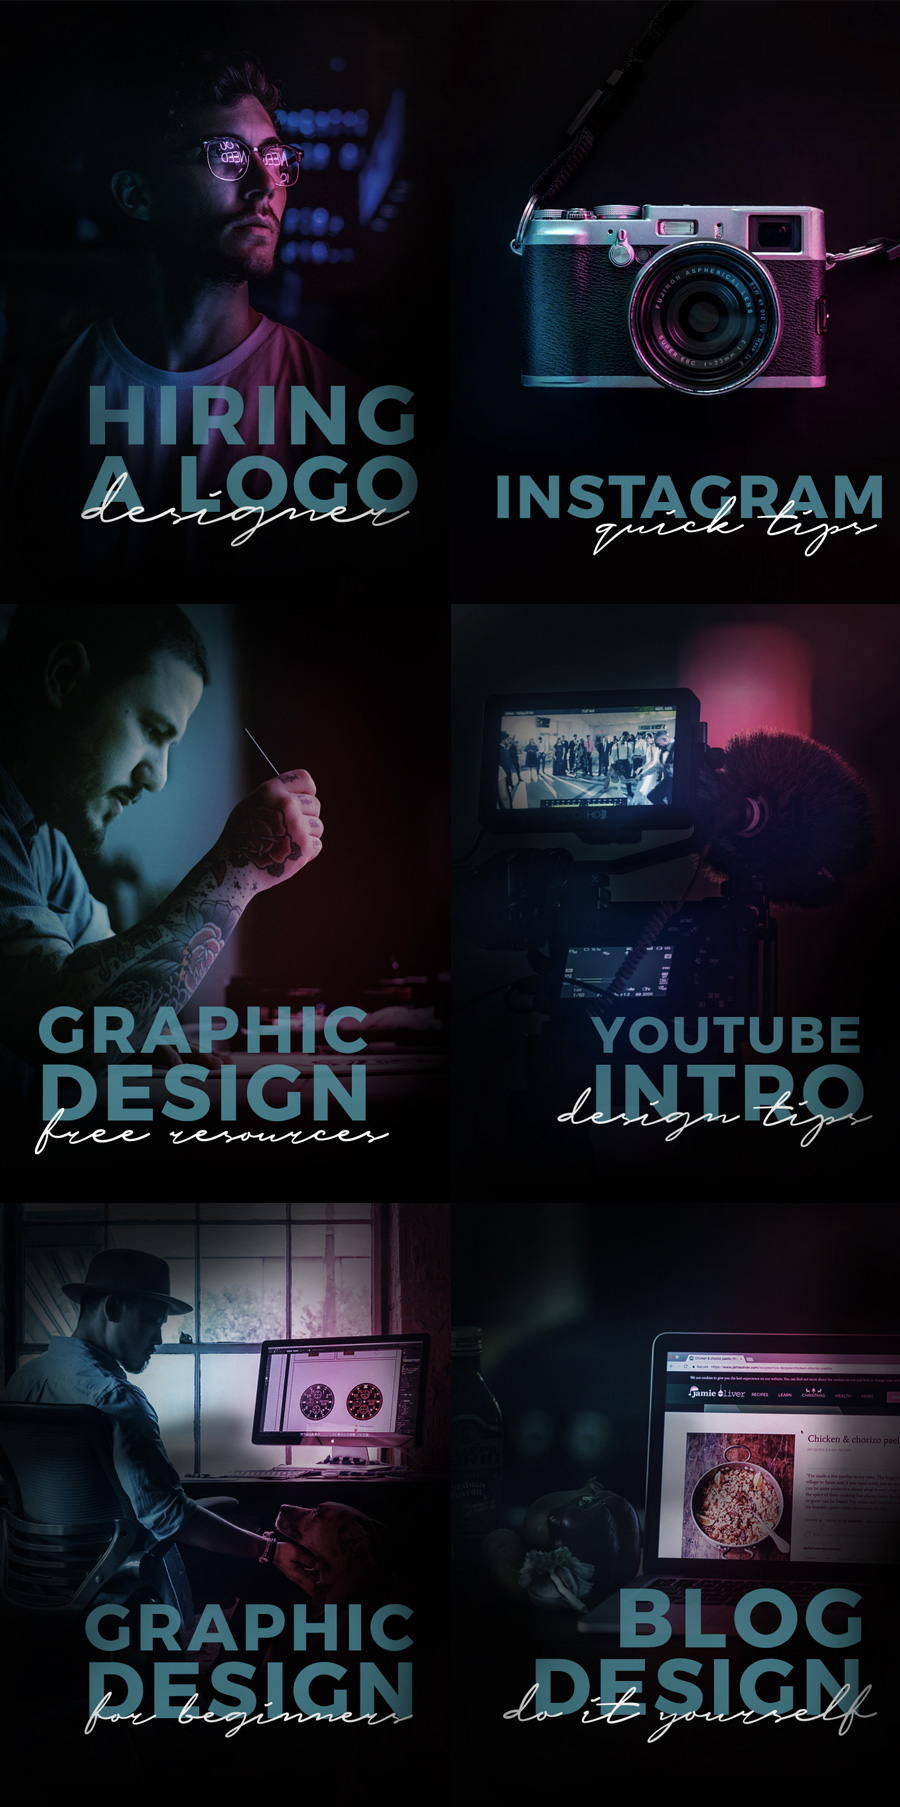
This is the image that you put at the top of your blog post – as sort of a visual introduction to your post. They are Pinnable, and on Facebook they will show this image when the whole post is shared.
If you go onto someones blog, you will see that these images take up a lot of visual space on a blog. Meaning they need to look good. And the style you use to create these images will also say a lot about the brand and personality of the blog. Using bright colors show a more vibrant dynamic blog. I use darker colors because I want to give off a more ‘designer-y’ feel. I use fonts that match what I want the website to stand for – simple and well designed.

Visit well designed blogs you like, and see how they create their blog post title images. Also searching for posts on Pinterest will show a lot of different styles (different layouts, colors used, font choices, etc.) to get inspiration from.
4. Small Details: What Fonts Are You Going To Use?
This is a really subtle area of the blog. But can make a big difference.
The text on your website takes up probably the most ‘visual’ space. But you don’t really pay close attention to it compared to photographs, your logo, or sidebar. So it is important to find the right font combinations to use.
Again, look at well designed blogs that you like, and see what type of fonts they use for their headers (blog post titles, sidebar headers, menu buttons). See what font size they use, is it large or small? Are their titles all in uppercase? Are they using black or a color? I like a really dark shade of grey for my main text.
Good looking, well established blogs will keep it simple. They won’t use fancy script fonts – because they are hard to read. When I was chosing what fonts to use for this website – I went and studied what other blogs were using.
Here is what I am using:
For blog post titles (the css code)
font-family: montserrat,Arial,helvetica neue,Helvetica,sans-serif;
font-size: 18px;
letter-spacing: 1px;
line-height: 1.4;
text-transform: uppercase;
font-weight: 600;
color: #000;
- letter spacing is the amount of space between the letters
- line height is the amount of space between each line of text
- text transform (uppercase) makes all of the letters uppercase
- font weight is how bold I want it
- and color is black
For the main text of the blog post
color: #262626;
font-family: karla,sans-serif;
font-size: 14px;
line-height: 1.429;
- notice how the font color is not completely black, it is a dark grey – which is subtle.
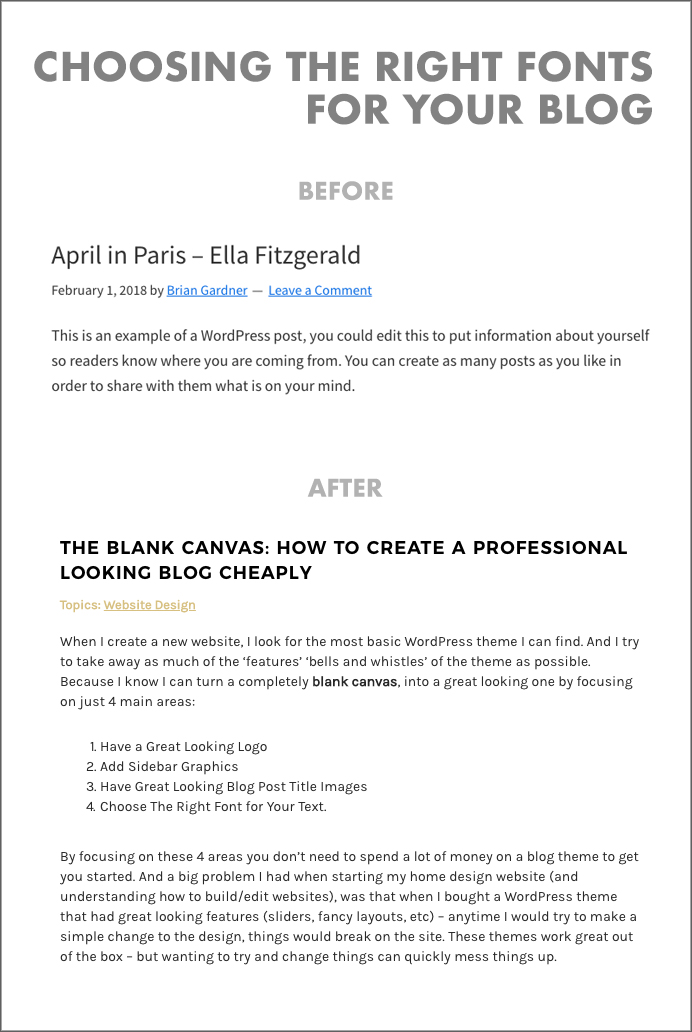
It might not seem like a big deal, since I just chose what most people would think are normal fonts. But have a look at the before and after (the default fonts for the Genesis WordPress theme – which can be seen everywhere, versus what I changed it to).

It is subtle, but when your text takes up the most amount of space on your website – it makes a big difference.
–
So focus on those 4 areas (logo, sidebar graphics, blog title images, fonts) and you can avoid using a blog theme with lots of complicated features/bells and whistles to make your website look good.
